Our garage has never had proper drainage and the bottom has been getting progressively more rotten over the years. We had addressed this on the front, right side and back a few years ago by cutting out the rotten panelling and adding a Hardie panel baseboard while also adding flashing and sealant to keep the water out. To fix the left side we had to access our neighbors yard and take down their fencing so it never happened. The paint was also pretty faded and most of the facia boards were rotting away (and growing mushrooms). Since there is currently no one living in the house next door to us we took the opportunity over spring break to take care of these overdue repairs and paint the whole thing to match the house. (We did inform the owner of the house next door).

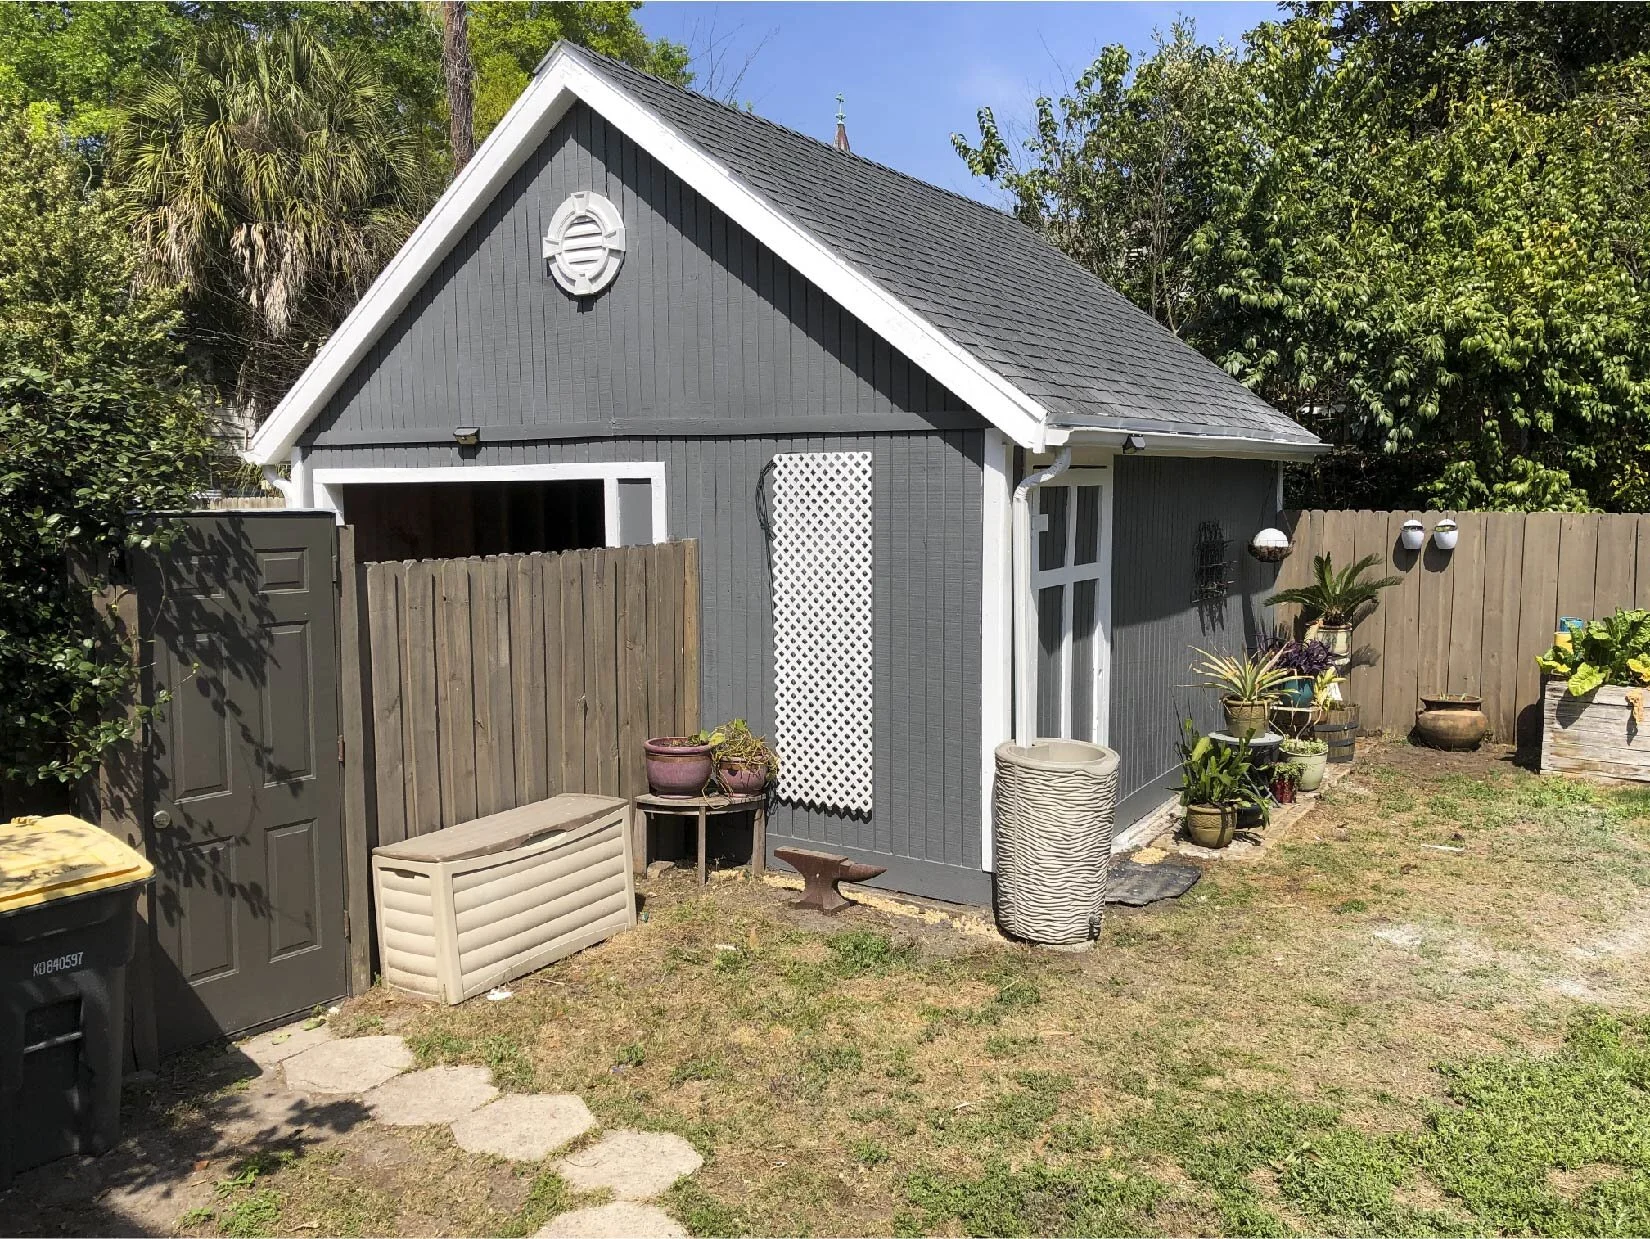
Here’s the basic before and after shots. We also took the opportunity to trench out around the foundation and add gravel for better drainage. We installed gutters to help with drainage as well. Plus I finally leveled out the brick pad for my plants and we got the door prepped for a real garage door. The end result looks way better, matches the house color, is more functional and should last for another decade. Next month we will add some electricity so we can use the workshop side as a workshop instead of just storage and get the automatic garage door installed.


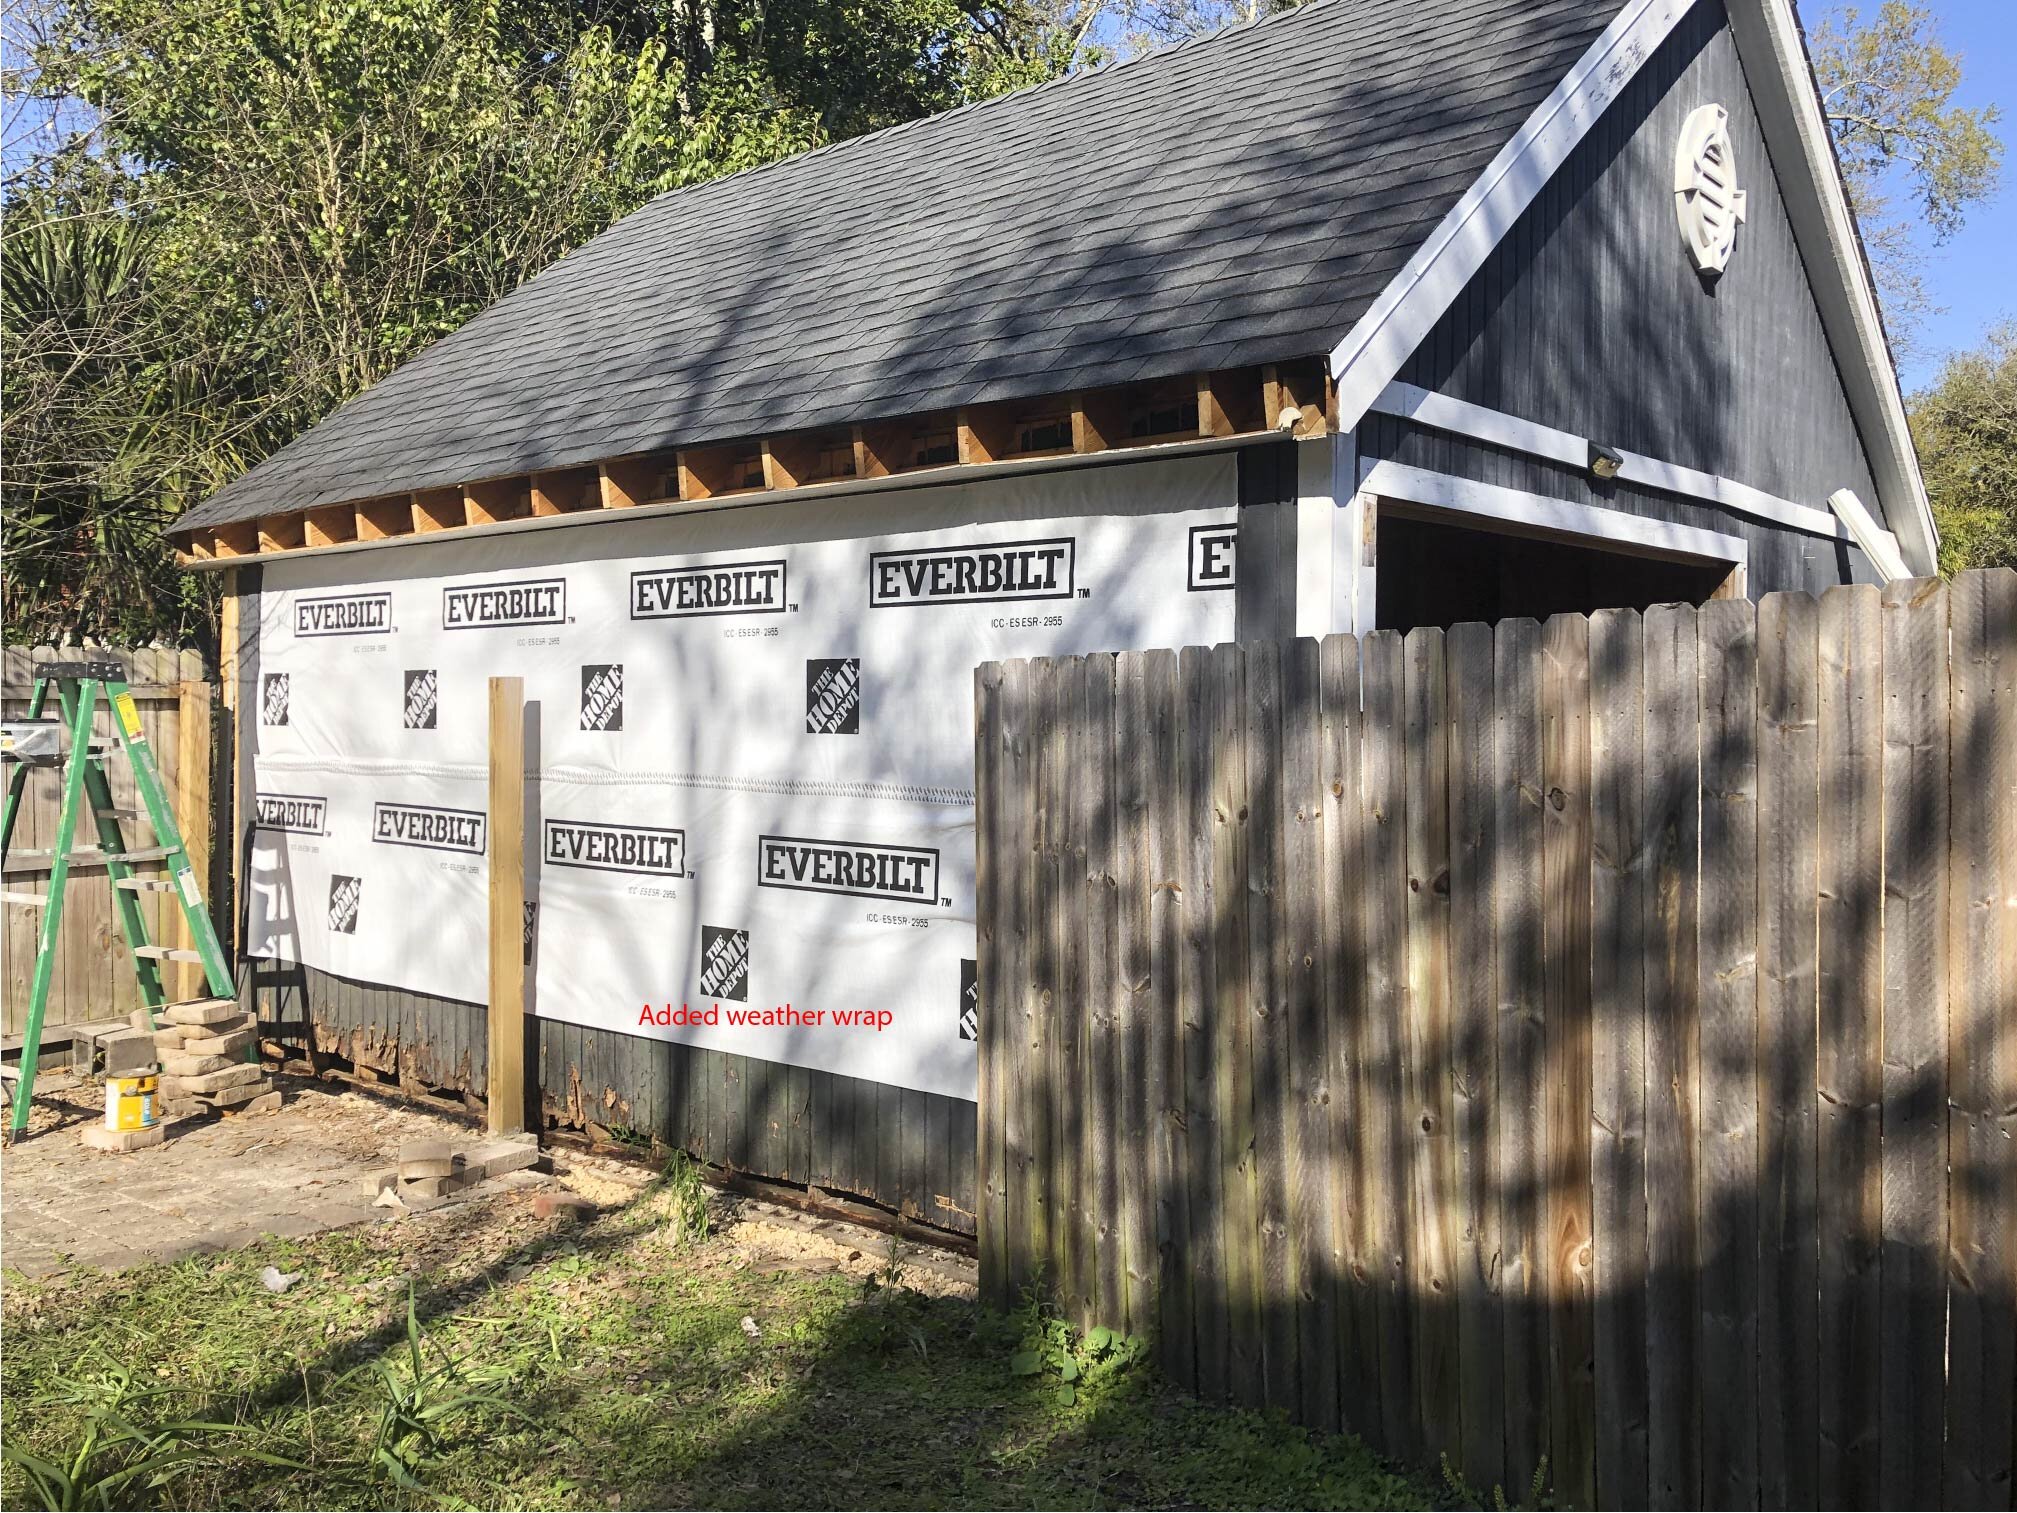


This is the transformation of the left side that needed access from the neighbors yard.


The transformation of the right side, which is the one we see from our back deck.


The transformation of the front. I’ll have to update this when we get the door in.

And yes, we also did the back. It’s just really hard to photograph. We did the trenching and painting here plus lots of caulking in seams before painting and adding a piece of roof flashing that was never there.

Finally got the garage door installed. Project complete. Also got that trellis of Jasmine on the right under control.